Table of contents
WisTex-United-system
This page will go through the environment setup for WisTex-United-system for Mac, Linux, and Windows, and how to deploy the project on SimRobot and NAO Robot.
Installation
- WisTex-United-system is the BadgerRL internal fork of BHumanCodeRelease, which replaced some parts to be compatible with RL policy.
- The environment setup follows the B-Human Documentation, with minor revision
- Version not matter too much as long as you can successfully running your project on SimRobot.
MacOS
Required Dependency
- macOS 14.6+ (Intel or ARM)
- Xcode 16.0
- Xcode must be executed at least once to accept its license and to install its components.
- CMake 3.26.3
Setting up the Working Copy
- Cloning the Repository
- As the WisTex-United-system repository uses submodules, it must be cloned using
git clone --recursive. Downloading it asziportar.gzdoes not work. - On macOS, the working copy must be either located outside of folders protected by macOS (e.g.
Desktop,Documents,Downloads, etc.), or you have to grant full disk access to/bin/bash. - All paths mentioned in this documentation will be relative to the main directory of the working copy.
- As the WisTex-United-system repository uses submodules, it must be cloned using
Running project on SimRobot or Nao Physical Robots
See B-Human SimRobot and Nao Robot for more information
- Creating Project Files / Compiling the Code
- Run
Make/macOS/generateand open the Xcode projectMake/macOS/B-Human.xcodeproj. The schemes in the toolbar allow building the targets mentioned in this section in different configurations. - On ARM machines, there is also the option to run
Make/macOS/generate -rto generate an Xcode project that will still compile Intel code, which runs via Rosetta 2.
- Run
- Open Xcode project from
Make/macOS/B-Human.xcodeproj - Select the environment you want to deploy your project
Naomode will deploy the code in physical robot, you need to turn on a robot and connect to Lab (1351 CS building) LANSPL_WISCSimRobotwill open up simulation environment. See here to learn aboutDebug/Develop/Release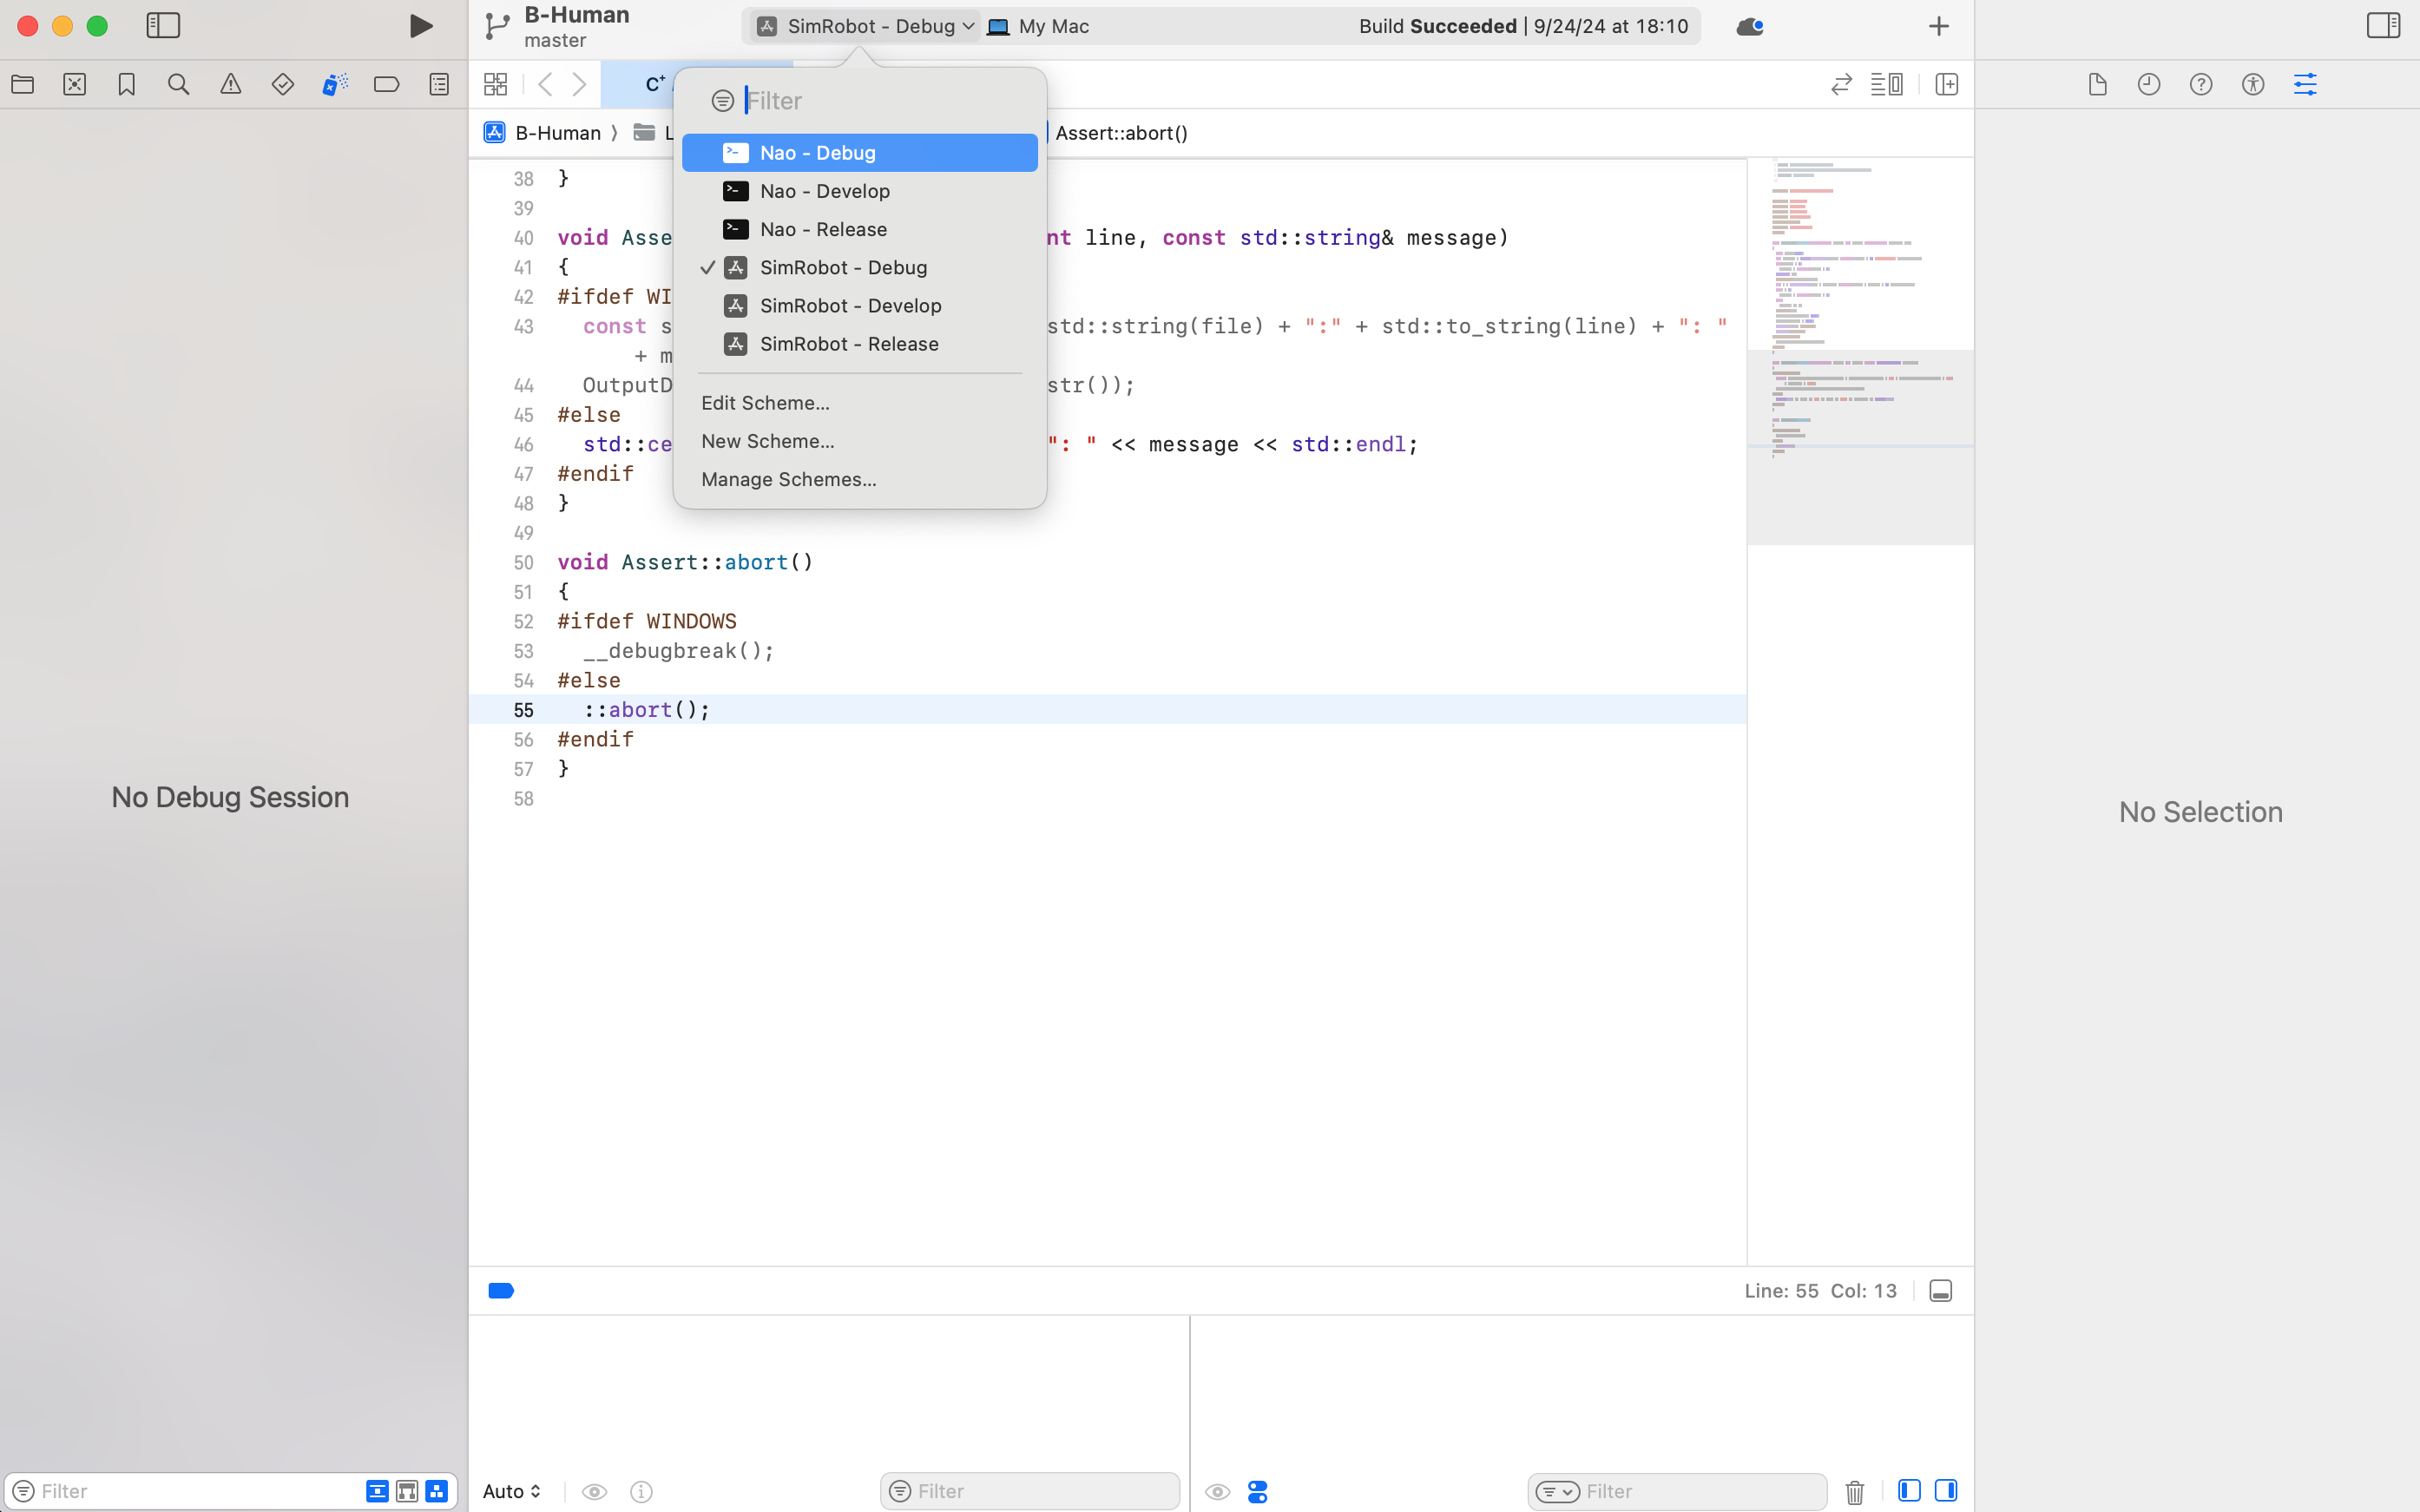
- Click the start button to launch an instance, you will need to wait for building complete
- SimRobot: Refer here and SimRobot Code Overview to learn more about SimRobot
- You need to select a scene file
.ros2to open a pre-defined robot soccer. A good first scene to try isOneTeamFast.ros2. Feel free to refer to any.ros2and.conunderConfig/Scenes/or here if you want to build your own scene.
- After open a scene, double click
Consoleto open a console where you can write command, double clickRoboCupto display the rendered environment.- Refer here to learn more about console command
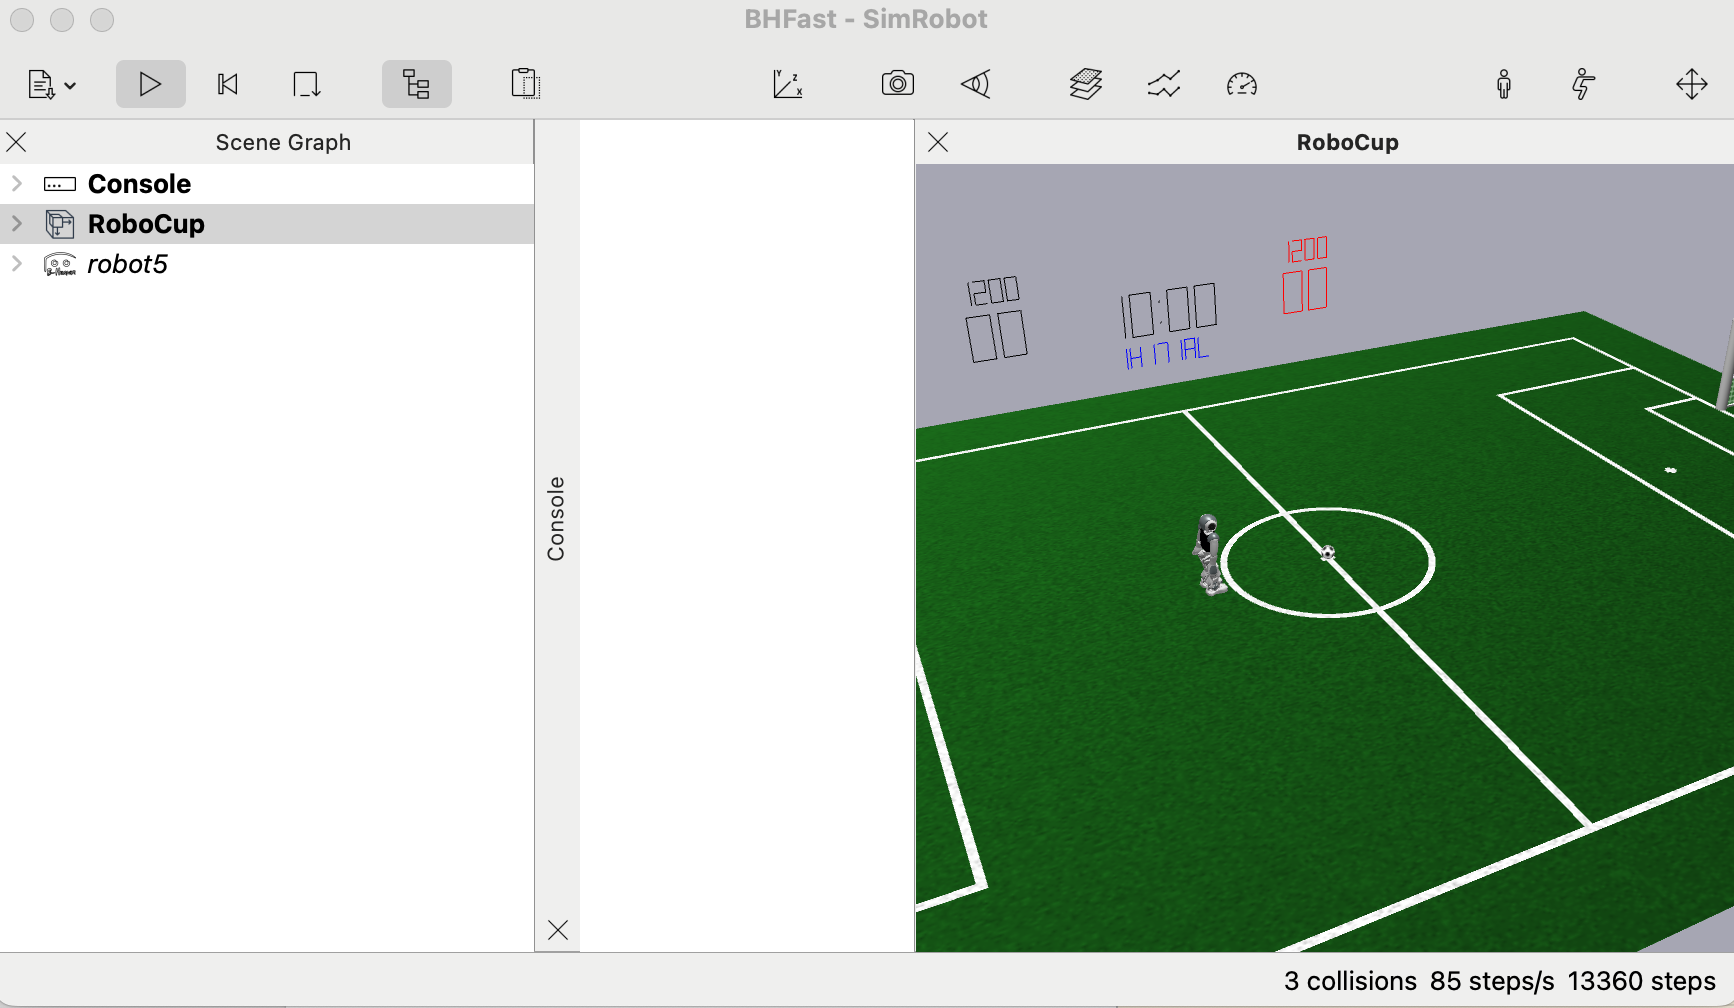
- Refer here to learn more about console command
- To start the simulation, enter the following commands in the console:
- To instruct the robots to prepare for a kickoff, type
gc ready. The robots should walk to their kickoff positions. - Once the robots have reached their kickoff positions, type
gc setto tell the robots to stop moving and get ready for kickoff. - Type
gc playingto start a countdown after which the game will begin.- Entering the commands in the order above is the official way to start the game. If you don’t care about this, just type
gc playing.
- Entering the commands in the order above is the official way to start the game. If you don’t care about this, just type
- To instruct the robots to prepare for a kickoff, type
- You need to select a scene file
- Nao Deployment: (This section will go through initial deployment, for how to handle NAO robots and further instruction, refer “How to deploy” under NAO Robots)
- You need to go to the Lab (1351 CS building) where Nao Robots located, turn on robot(s), connect to the Lab LAN
SPL_WISC. - If an robot is turn on, and your computer connect
SPL_WISC, the line relate with the robot will have active data (the image below showing no active robots, either because not turning on robot or connect toSPL_WISC). - You can config setting for deployment in the right sidebar. Please Note:
- ❗️REMEMBER to select
SPL_WISCin Wireless profile before clickDeploy. Otherwise, you will need to physically connect to the robot with a cable to redeploy. See “NAO Connection and File System” section under NAO Robots for instruction with cable connection. - ❗️In Xcode, when clicking deploy, all active robot will be deployed with the same file. If you want to deploy different files to different robot, either turn off one and deploy another, or use a linux machine to deploy with command line.
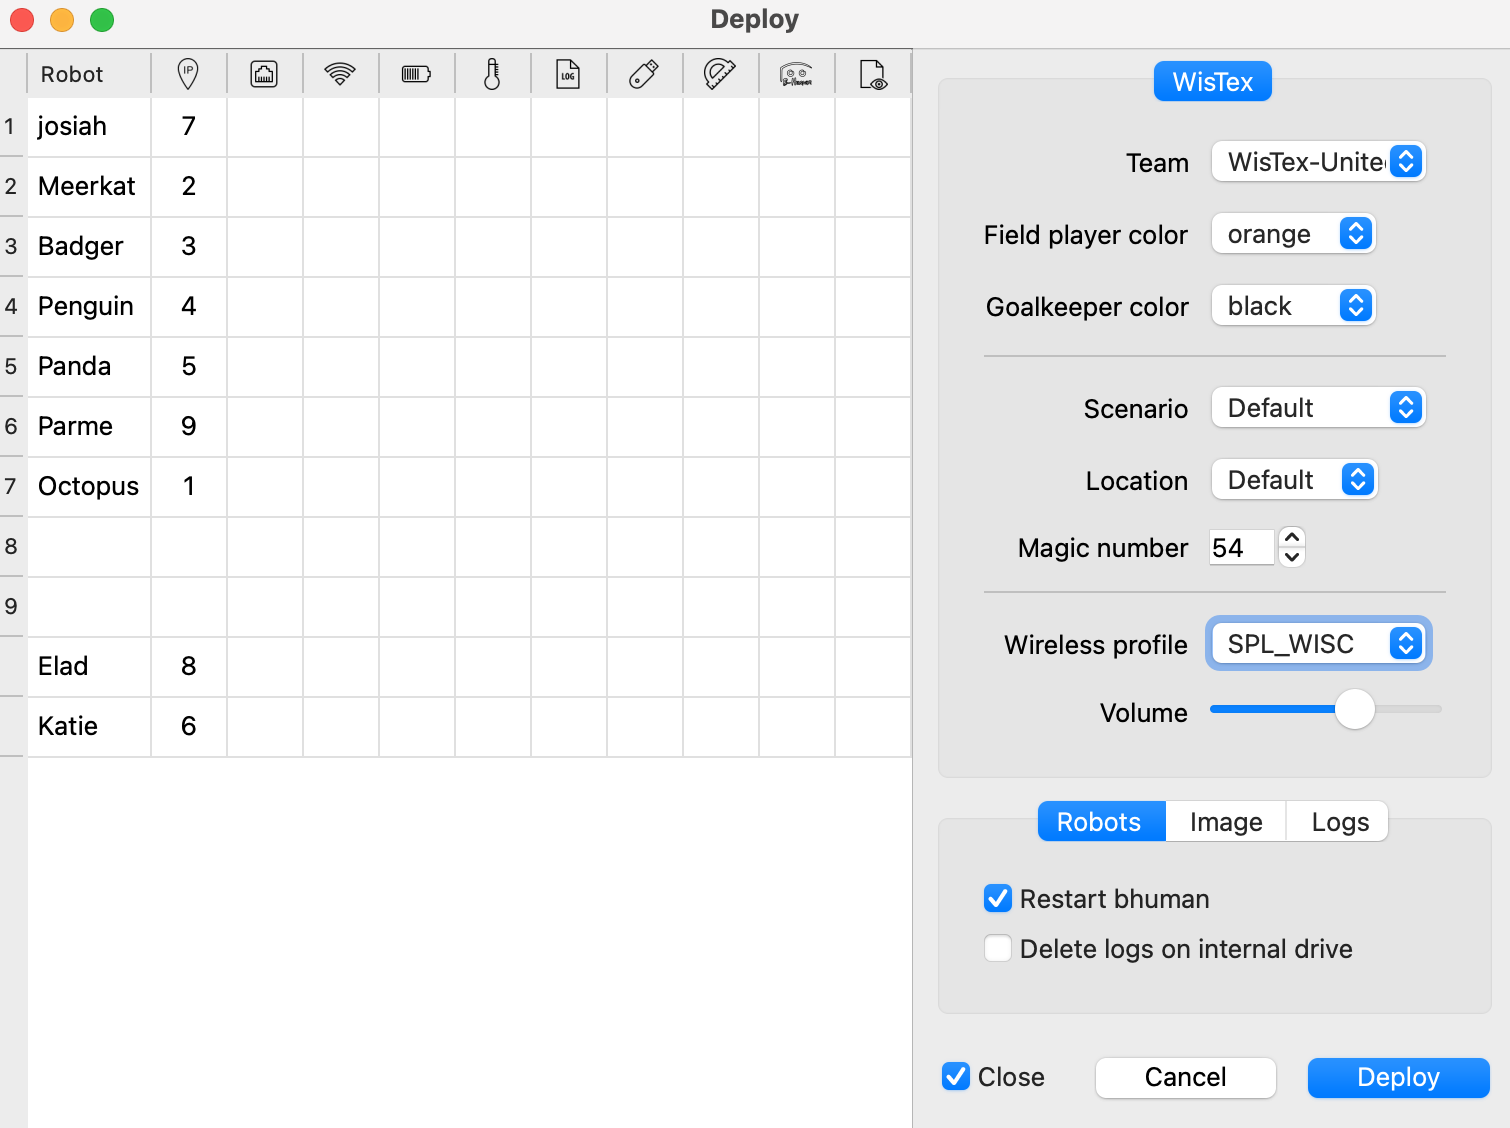
- ❗️REMEMBER to select
- You need to go to the Lab (1351 CS building) where Nao Robots located, turn on robot(s), connect to the Lab LAN
- SimRobot: Refer here and SimRobot Code Overview to learn more about SimRobot
Linux
It is highly recommend to use the Lab Linux machine since it is already have environment setup, see here for instruction of Lab Machine
Required Dependency
- A 64-bit Linux, e.g. Ubuntu 22.04 LTS
- The following packages (here for Ubuntu 22.04 LTS):
sudo apt install ccache clang cmake exfatprogs git graphviz libasound2-dev libbox2d-dev libgl-dev libqt6opengl6-dev libqt6svg6-dev libstdc++-12-dev llvm mold net-tools ninja-build pigz qt6-base-dev rsync xxd
Setting up the Working Copy
- Cloning the Repository
- As the WisTex-United-system repository uses submodules, it must be cloned using
git clone --recursive. Downloading it asziportar.gzdoes not work. - All paths mentioned in this documentation will be relative to the main directory of the working copy.
- As the WisTex-United-system repository uses submodules, it must be cloned using
Running project on SimRobot or Nao Physical Robots
Check SimRobot and Nao Robots for more information
- Compile and deploy on SimRobot
- Run
Make/Linux/generateto generate CMake caches. - Run
Make/Linux/compile [<configuration>] [<target>]to compile the code (using a configuration and target from this section, Develop is the default configuration). - run
./Build/Linux/SimRobot/[<configuration>]/SimRobotfrom the top-level directory to open SimRobot, check here or see Running project on SimRobot or Nao Physical Robots section under MacOS setup to learn how to interact with SimRobot
- Run
-
Compile and deploy on Nao Robots (This section will go through initial deployment, for further instruction, refer “How to deploy” under NAO Robots)
- you need to turn on your choice of robots and connect to Lab (1351 CS building) LAN
SPL_WISC - REMEMBER to select
SPL_WISCwhen deploying in Lab (1351 CS building). Otherwise, you will need to physically connect to the robot with a cable to redeploy.
- Run
Make/Linux/generateto generate CMake caches. -
refer to Deploying the Software for deploy command
-
For example,
Make/Common/deploy Release -r 3 10.0.54.3 -t 8 -w SPL_WISC -b -v 40Make/Common/deploywill compile the codeReleaseis the[<configuration>]same as in SimRobot-
-r 3 10.0.54.3copy to ip
10.0.54.3and set player number to3(one -r per robot), the 3 in ip specify robot3, the-r 3is what we specify in our code. For example, you can call-r 5 10.0.54.3to deploy the code of robot5 on physical robot 3 -t 8specify team 8-w SPL_WISCspecify usingSPL_WISCas wireless profile-brestart bhuman-v 40set NAO’s volume as 40%
-
- you need to turn on your choice of robots and connect to Lab (1351 CS building) LAN
Windows
Please refer to B-Human documentation about initial setup on Windows
TODO