Table of contents
Lab Server
Usage
Connect
![]() For people new to this lab
For people new to this lab
- In the very first place, please ensure you have contact an administer to create your account.
- For Windows user, it’s highly recommended to use WSL2 and use Linux environment
- Connect Script is highly recommended
- The
<XXX>in the following document are placeholders, please replace them as a whole, including the<>
Connect Script
Please first download this script connect-badgerrl.sh
Dependencies
On WSL, you can use cat /proc/version to check the version of WSL. On WSL2 you will see something like Linux version 5.15.90.1-microsoft-standard-WSL2
- WSL1 (Not supported yet)
sudo apt install nautilus remmina tmux expect bcPossible work around:Start GUI on WSL1
- Linux / WSL2
sudo apt install nautilus remmina tmux expect net-tools bc -
OSX
https://brew.sh/
# Install brew
/bin/bash -c "$(curl -fsSL https://raw.githubusercontent.com/Homebrew/install/HEAD/install.sh)"
# Install other packages # Recommended brew install tmux # Optional (for mounting remote folder) brew install --cask macfuse brew install gromgit/fuse/sshfsFor OSX (MacOS) Users
Apple tighten their system plugin restriction in their recent OSX release, you can either- Ignore this feature
-
Follow this tutorial to enable system plugin
-
Enable system plugin
- Click the Apple menu and choose Shut Down.
- Press and hold the power button on your Mac until you see Loading Startup Options.
-
Choose Options, then click Continue.
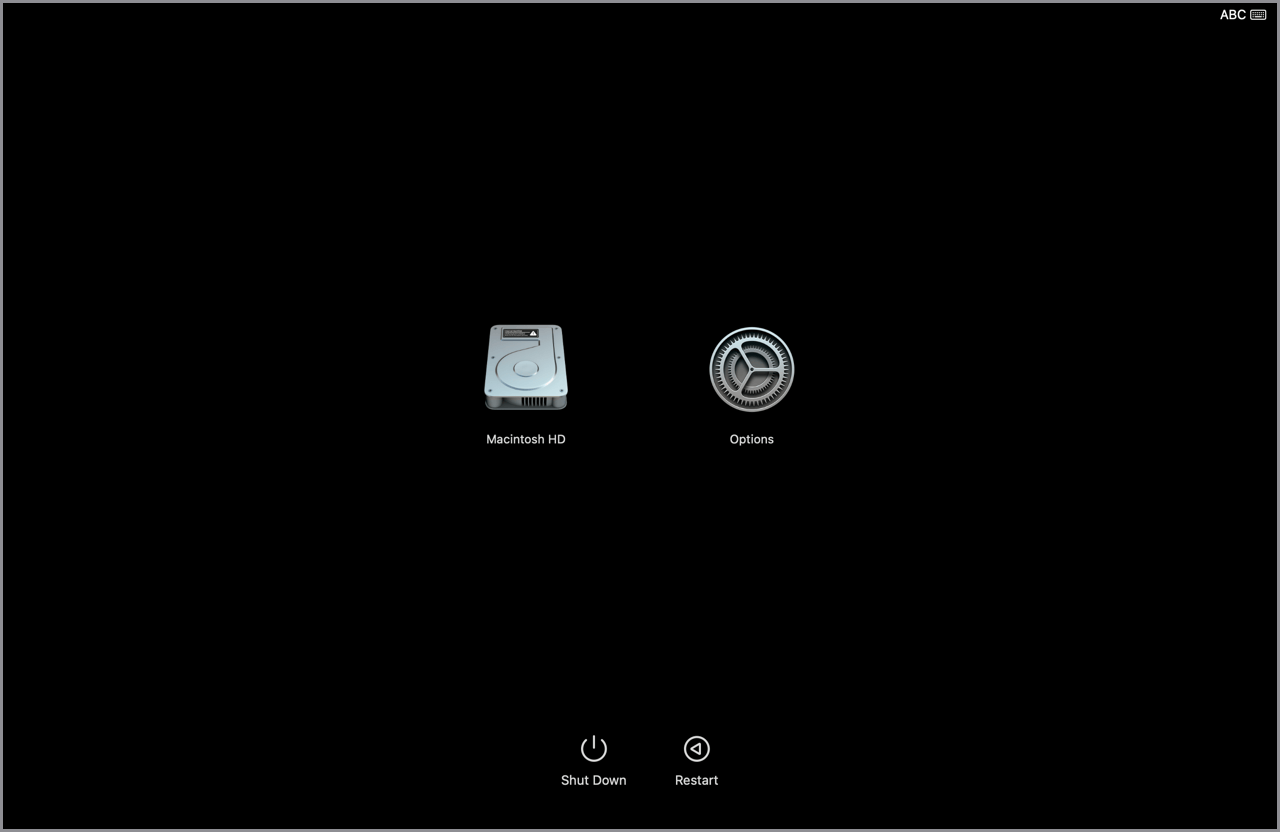
- Select your startup disk, then click Next.
- Type in your administrator password and click Continue.
-
Click Utilities in the menu bar and choose Startup Security Utility.

-
Select your boot disk and click Security Policy.

-
Select the button next to Reduced Security.
You can only select the first option (Allow user management of kernel extensions from identified developers)
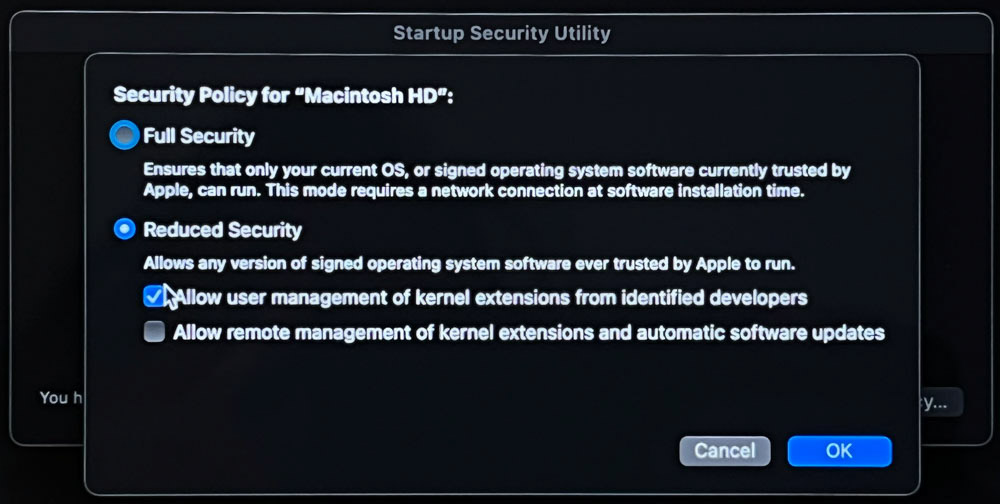
- Select the box next to Allow user management of kernel extensions from identified developers.
- Click OK.
- Click the user pop-up menu and choose your administrator account. Then type in the password and click OK.
- Click the Apple menu and choose Restart.
-
Configuration
Modify config variables in the script
- Highly recommended for everyone
default_duo_devicedefault_remote_usernameYour account on lab server (e.g. alice2024)default_remote_server_nameOur lab computer doesn’t share storage, so it’s likely you prefer to work on one machine Just flip a coin and pick badgerrl or badgerrl2
- If you prefer a specific ssh key
default_ssh_keySwitch to your preferred key, for exampleid_ed25519. Don’t include the path or the.pubsurfix Currently it doesn’t support keys outside your~/.sshfolder PS: You can specify a non-existing key, the script will create it for you. If you also specify a password, it will use the password to encrypt the key
- If you want a stable port to forward the sftp
default_sftp_porte.g. 6099 (pick one that won’t conflict with other service on your computer) If left to default, it will be picked randomly
- If you are really lazy
cs_passwordThe password of you CS account, used for automated Duo logindefault_key_passwordThe ssh key password
Connect CLI (SSH)
General case
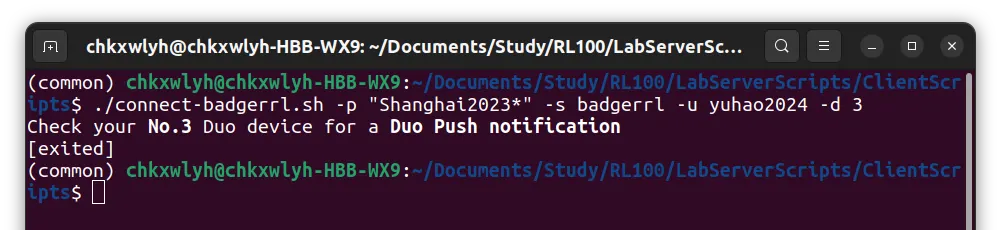
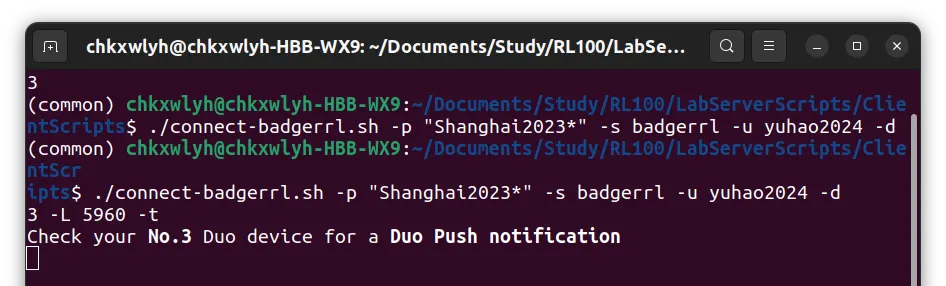
./connect-badgerrl -t -u yuhao2024 -s badgerrl -p XXXXX -d 1
-
-t: ssh tunnel mode -
-u: lab computer username (e.g. yuhao2024) -
-s: lab computer hostname (server name) -
-p: CS password -d: Duo device-
First Time login with pre-existing key
Write id_rsa key to server video.mp4
-k: name of the existing key-w: write key to server. just like ssh-copy-id
-
First Time login with a new key
-k: name of the new key--key-password: the password used to encrypt the key (optional)-w: write key to server. Not visible in the video but automatically enabled when you create a new key
Generate rllab_key and write to server video.mp4
You also need to specify the key and password in all login afterwards
Result
A tmux pseudo terminal will take control after running the command
Connect File System
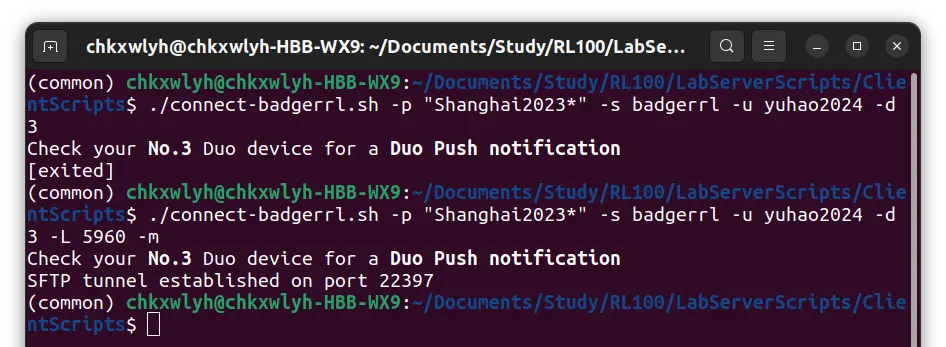
./connect-badgerrl -m -u yuhao2024 -s badgerrl -p XXXXX -d 1
-m: sftp mount mode
Result
-
OSX A
XXXMountPointfolder will appear under you home folder, your home folder on remote machine will be mount there As the linux symbolic link doesn’t work with this kind of mount, the Shared folder is mounted separately -
Linux Your home folder on remote machine will appear on the side bar of nautilus (the file browser)
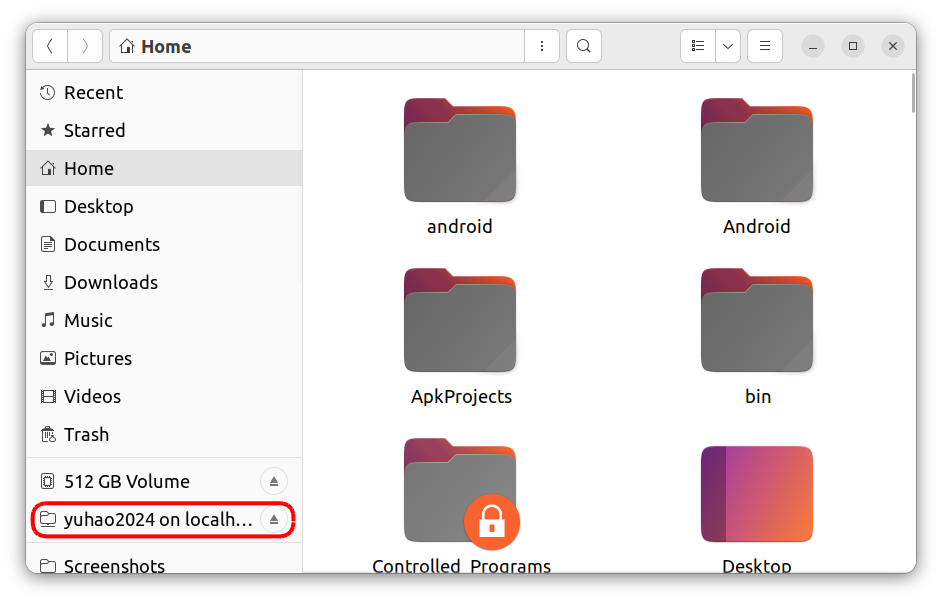
Or you can find it under
Other Locations -> Networks
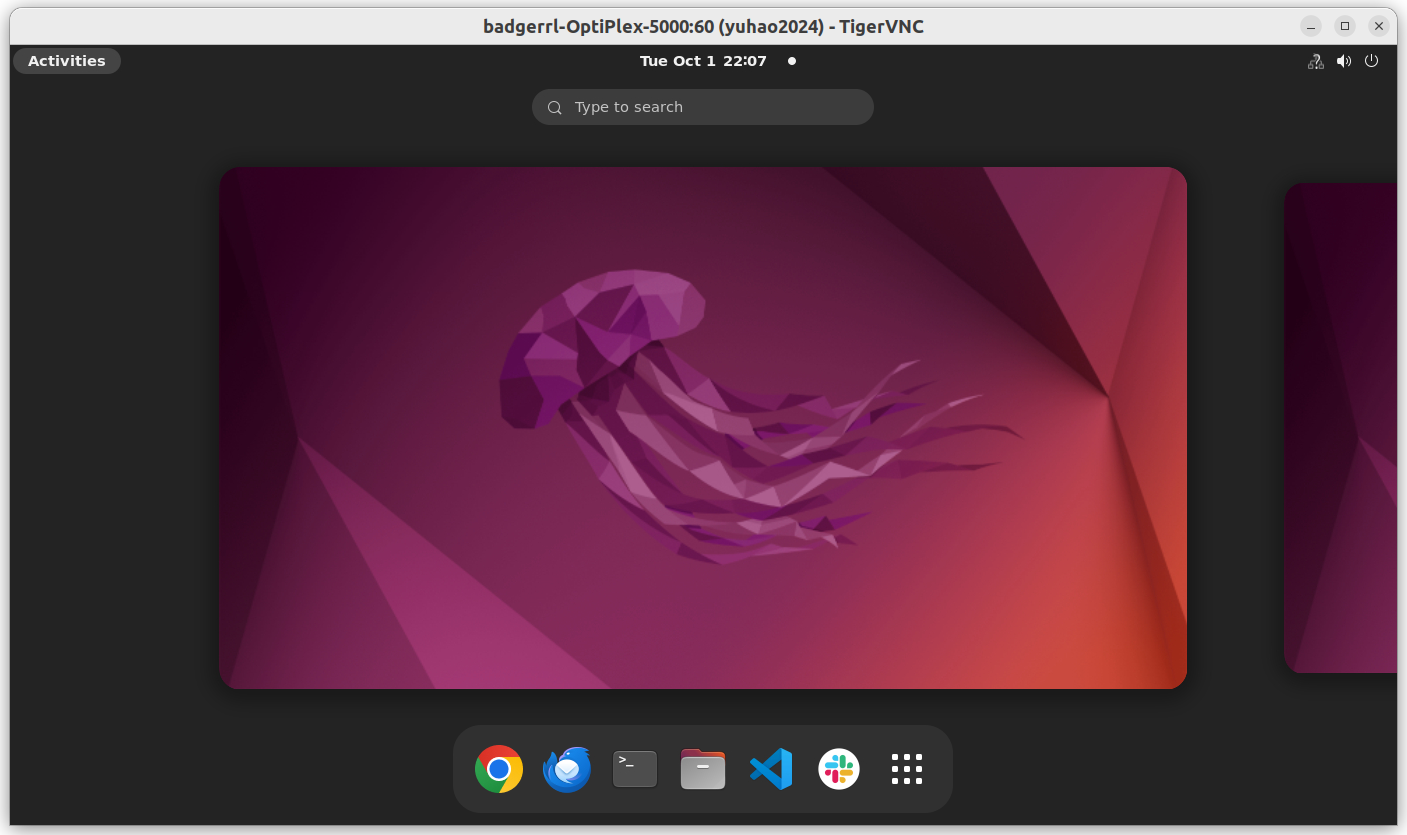
Connect GUI (VNC)
VNC is intended to be used exclusively with the physical screen
There would be a conflict between physical screen login in and VNC server login in.
Before starting a vncserver, ensure you logout from the physical screen
The following sample is on Linux OS
-
First, ssh into your remote account

-
Run
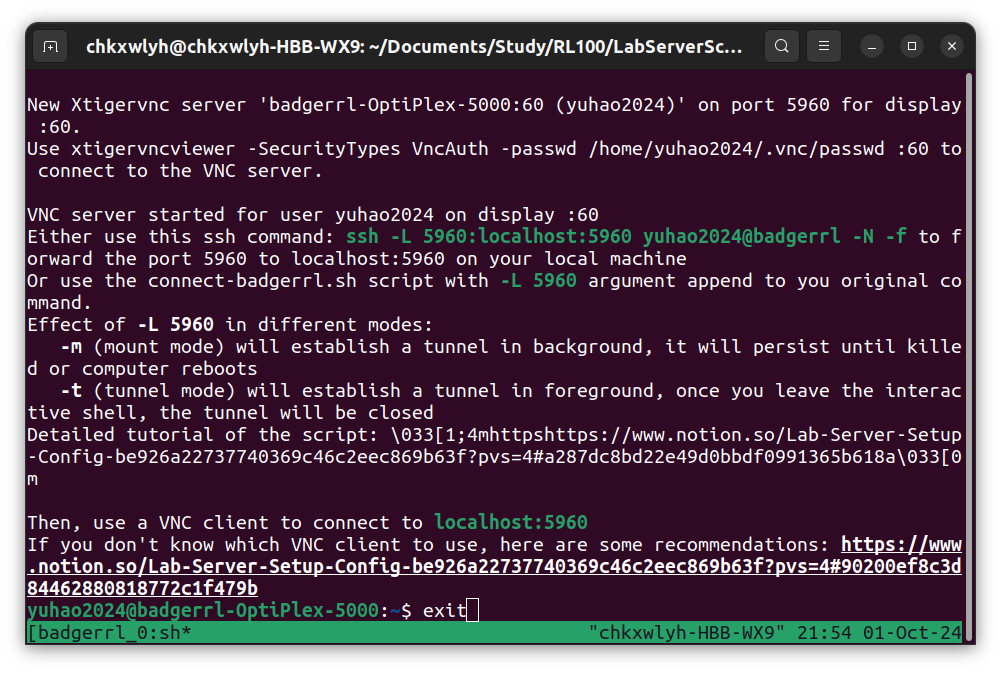
Shared/start_vnc_server.sh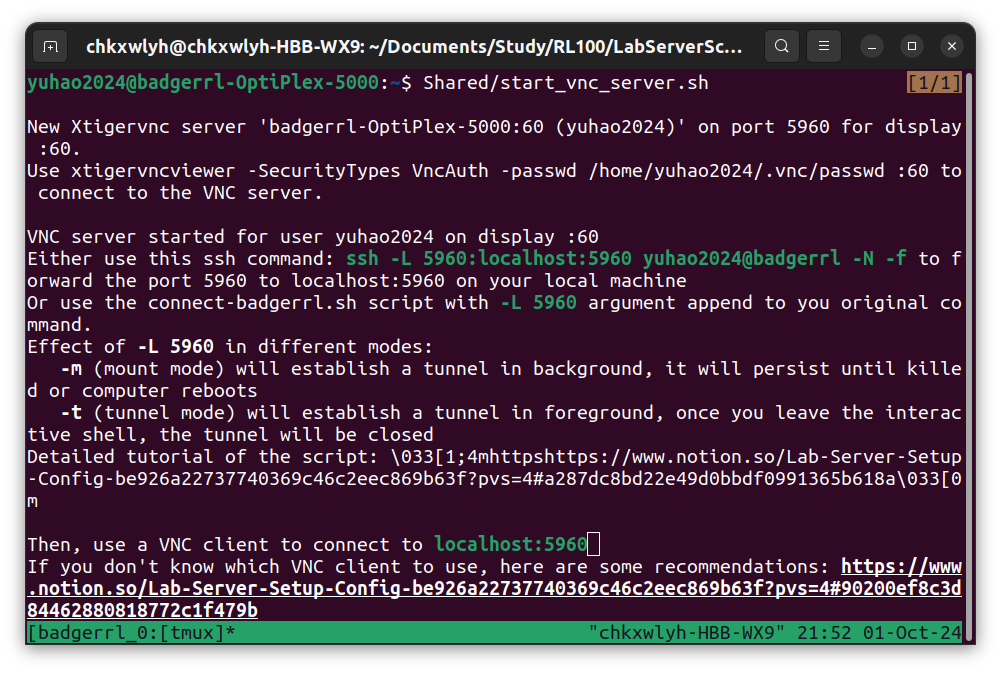
- Watch the port the server is running on In the previous example it is 5960
-
The first time you run the script, it will show you the default VNC password (should be badgerrl) and the way to change it. Please remember, VNC password is an independent password
-
Create a new ssh connection to forward the port, both
-tand-moption should work-
-t
After connection is established, **keep the terminal open** -
-m
You can safely close the terminal
-
-
[Optional] Check connect status
-
Linux/WSL2
netstat -tuln | grep <port_number (e.g.5960)>
-
OSX
netstat
-
-
Connect with vnc client
-
TigerVNC Client (All Platform)


The password is the VNC password you see / you set on the lab server
-
Remmina (Linux/WSL2)
You can install the client on your machine
Runremminaon command line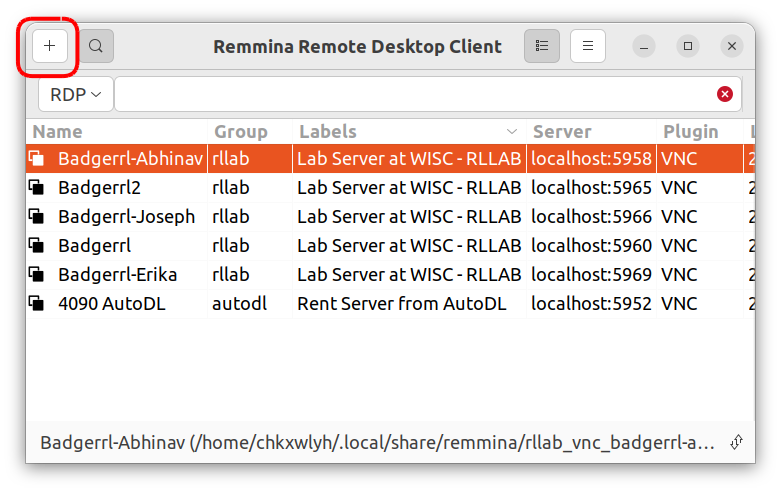
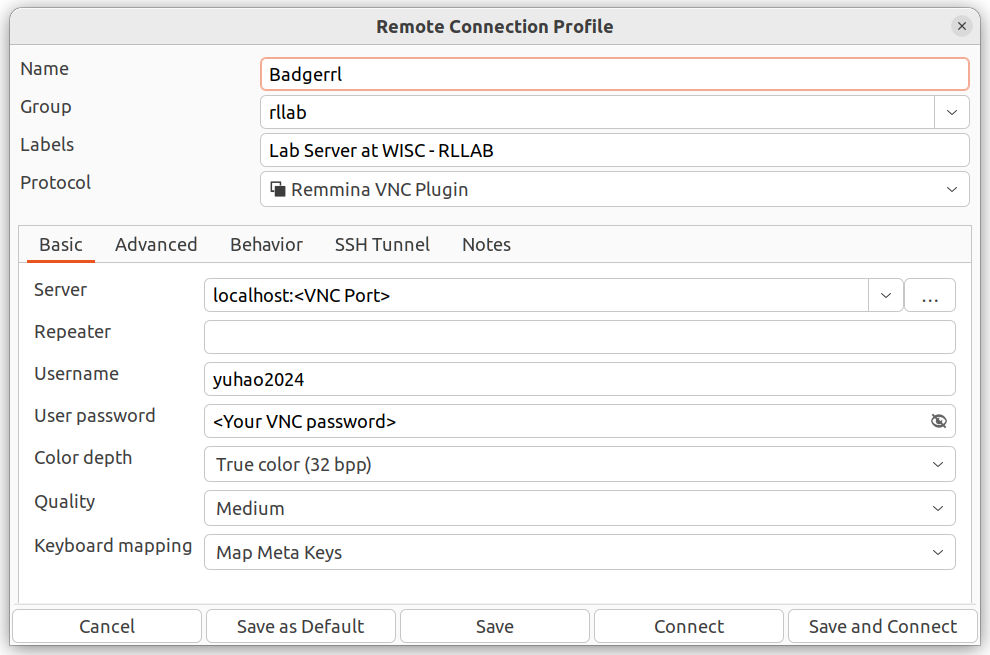
Afterwards you can connect with one click
-
VNC Client recommendation
-
TigerVNC Client
Minimum Lightweight VNC Client, no need to install
Latest version (>1.12) might report:
An unexpected error occurred when communicating with the server:
No matching security types
Attempt to reconnect?Solution: use stable version
-
Remmina
Powerful VNC/RDP/SFTP Client preinstalled in most Linux distro
Need manual installation on WSL2
Sample Usage
-
OSX
If the video is not working, please try google drive
-
WSL2
If the video is not working, please try google drive
-
Linux
Linux Connection is the same as WSL2
Connect With VSCode
VScode is nice, but we met many problems when trying to connect to lab server though vscode
Updated: Oct 6 2024
-
Windows:
SSH connection doesn’t work
Problem: Cannot install vscode-server extension
- Use Tunneling:
Windows VScode tunnel connection video.mp4
-
MacOS (OSX):
-
Latest version of vscode
SSH/Tunneling both works fine
SSH: BE AS FAST AS YOU CAN WHEN LOGGING IN (Password + Duo)
-
Old version of VScode (indicated by No Tunneling functionality / Only have SSH option)
Ben buy a new computer, Currently nobody is in this situation
Currently there’s no way to connect to the lab server
Problems:
- Infinite login prompt
- Cannot install extension
-
-
Linux (Ubuntu)
SSH/Tunneling both works fine
SSH: BE AS FAST AS YOU CAN WHEN LOGGING IN (Password + Duo)
Net structure
🏛 WISC Net
WISC VPN brings you here
🌐 CS Department Net
CS Department VPN bring you here (Only professor have it)
-
CS Lab machines
You can login to these machines at
best-linux.cs.wisc.edufrom WISC Net through ssh with you CS account and password. It’s the only way to bring you into CS Department Net. -
badgerrl at
128.105.102.51Your account name should be: <your_first_name(all lower case)>
e.g. firstname2024 for name: “FirstName LastName” -
SPL_WISC (Robot Lab Net)
Nao Robots
nao@10.0.52.<robot number>
-
-
badgerrl2 at
128.105.102.54
Setup OS and environment
🔑 This section is for administers only
Setup Script
Simply runs it and it will prompt for each change it make. If @Yuhao Li is still in the Lab, please contact him